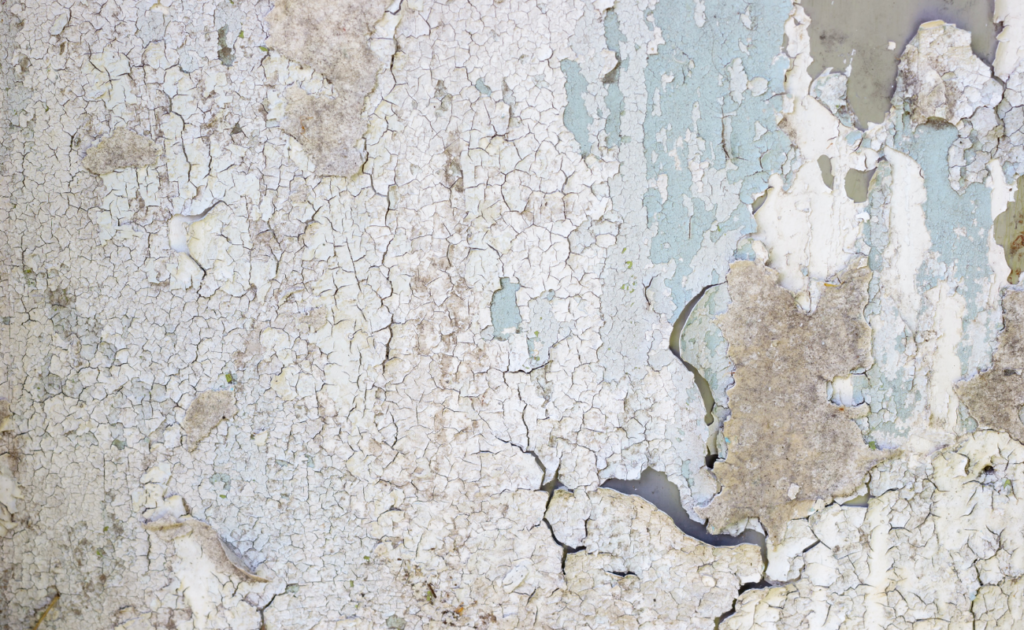
How to fix peeling paint? Peeling paint can be an eyesore that many homeowners in Easton, CT face at some point. Those unsightly cracks, flakes, or even large sections of paint falling off can make your home look worn out and neglected. Whether it’s due to painting over dirty walls, moisture issues, or poor preparation, peeling paint is a problem that needs fixing. But don’t worry, we’ve got you covered!
In this blog, we’ll break down how to fix peeling paint so you can restore your walls to their former glory. Plus, we’ll share some pro tips on preventing it from happening again.
Key Takeaways:
- This blog covers how to fix peeling paint effectively, identifying causes, and offering solutions for a flawless finish.
- Proper preparation, cleaning, and priming are essential steps to ensure paint adheres correctly and avoids future peeling.
- A detailed process to prevent peeling paint, ensuring lasting results.

Common Causes of Peeling Paint on Walls and Ceilings
Peeling paint can stem from several factors, and it’s often not just a “paint issue.” Here are some of the top reasons why your wall or ceiling paint might start peeling shortly after an interior house painting project:
- Old Calcimine Paint: If you live in an older home, the original coat might be calcimine paint, which doesn’t adhere well to newer paints. Trying to apply modern paint over it often leads to flaking and peeling.
- Water Damage: A leak, water damage, or even high humidity can cause paint to lose its bond with the surface. When walls are constantly exposed to moisture, the paint starts to blister, crack, and peel. Knowing how to fix peeling paint caused by water damage is key to restoring your walls.
- Too Many Paint Layers: Over the years, adding too many layers of paint can create a heavy surface that’s prone to peeling. This is particularly true for ceilings, where gravity is already working against the paint’s bond.
- High Humidity: Poorly ventilated areas with high humidity can cause paint to lift off and blister. Over time, this moisture buildup can lead to peeling and chipping. Understanding how to fix peeling paint in such environments will help maintain a smooth finish.
- Poor Preparation: A painting job is only as good as its prep work. Skipping proper preparation, like not cleaning or priming the surface, will make paint peel much sooner than it should. Learning how to fix peeling paint starts with knowing how to prepare the surface correctly.
- Painting on Dirty Surfaces: Dust, grease, or other residues on the surface can prevent the paint from sticking properly. This leads to bubbling and, eventually, peeling. Cleaning the surface before learning how to fix peeling paint is crucial for success.
- High Temperatures: High temperatures can cause the paint to dry too fast, weakening its adhesive properties. This often results in poor bonding and peeling.
- Sunlight Exposure: Intense sunlight can break down oil-based paints and make latex paints contract and expand, which weakens their bond and causes them to peel.
How to Know If Your Paint Is No Longer Usable
Paint can last for years if stored correctly, but sometimes it goes bad. Here’s a quick way to check if your paint is still good to use before starting to fix peeling paint issues:
- Check for Expiration Date: Look at the label for a date or recommended shelf life. Latex paint typically lasts up to 15 years, while oil-based paint can go for 20 years.
- Surface Film: If there’s a hardened film on top, gently break through it. If the paint underneath is still smooth, it’s likely okay to use.
- Smell Test: Bad paint has a strong, foul odor, similar to rotten eggs. If it smells off, it’s time to toss it.
- Stirring Test: If the paint has separated and is almost solid, stir it for a few minutes. If the consistency improves, it’s good to go.
Our Go-To Tools and Materials
At GREENHAUS Painting, we use a specific set of tools and materials to ensure we know how to fix peeling paint correctly and make it last. Here’s what we typically use:
Equipment:
- Personal protective equipment (masks, gloves, goggles)
- Plastic drop cloths or tarps
- Wire brush or paint scraper
- Putty knife
- Paint roller or brush
Materials:
- Painter’s tape
- Patching compound
- Fine-grit sandpaper
- Primer
- High-quality paint
How to Fix Peeling Paint?
Now that you know the causes, it’s time to fix the peeling paint. Here’s how we do it to ensure a long-lasting, professional finish.
Step 1: Prepare the Area
Before starting, we protect your space. We always use plastic drop cloths to catch any falling paint and tape off trim areas to prevent accidental marks. Furniture and rugs are either moved or covered to avoid paint splatters. Our team suits up in masks, gloves, and protective eyewear to ensure safety as we begin to fix peeling paint.
Step 2: Remove Peeling Paint
Using a wire brush or paint scraper, we carefully remove all loose paint. We don’t press too hard as it might damage the surface underneath. This step is essential to effectively fix peeling paint, making way for the new paint to adhere properly.
Step 3: Patch Any Damaged Areas
After removing the peeling paint, we check for cracks or holes in the wall. If we find any, we apply a patching compound with a putty knife and smooth out the surface. This step is crucial to ensure an even finish when we repaint, giving you the professional fix for peeling paint you’re looking for.
Step 4: Sand the Surface Smooth
Whether or not patching was necessary, we sand the surface using fine-grit sandpaper. This smooths out any rough edges and prepares the area for a flawless paint job. We run our hand over the surface to ensure it’s even and ready for the next step in how to fix peeling paint properly.
Step 5: Clean the Area
A clean surface is essential for proper paint adhesion. We wipe down the area with a tack cloth or a slightly damp sponge to remove any dust or debris. Then, we use a clean, dry rag to wipe the area again, ensuring it’s completely dry before moving on to the next step in fixing peeling paint.
Step 6: Apply Primer
Priming is key, especially if moisture was the cause of the peeling paint. We use a high-quality primer to seal the surface, protect against future moisture, and ensure the new paint adheres properly. Allowing the primer to dry as per the manufacturer’s instructions is a vital part of learning how to fix peeling paint correctly.
Step 7: Repaint the Wall
Finally, we apply a fresh coat of paint evenly over the prepped area. We usually apply two coats for durability, letting each layer dry thoroughly before adding the next. Once the paint is dry, we remove the painter’s tape, clean up the space, and you’re left with a beautifully restored wall! This final step completes the process of how to fix peeling paint for a smooth, long-lasting finish.
Final Thoughts
So, how to fix peeling paint? Fixing peeling paint can seem daunting, but with the right approach, it’s entirely manageable. We’ve walked you through the common causes and our detailed step-by-step process on how to fix peeling paint to help keep your walls looking pristine.
At GREENHAUS Painting, we provide top-notch house painting services in Fairfield, Greenwich, and surrounding areas. Our team ensures a hassle-free experience, taking care of everything from preparation to final touch-ups. We’ll work with you to evaluate the issue, choose the right products, and make sure it’s done to perfection.
Ready to give your walls a fresh start? Call us at 203-429-4424 for a FREE estimate today!


