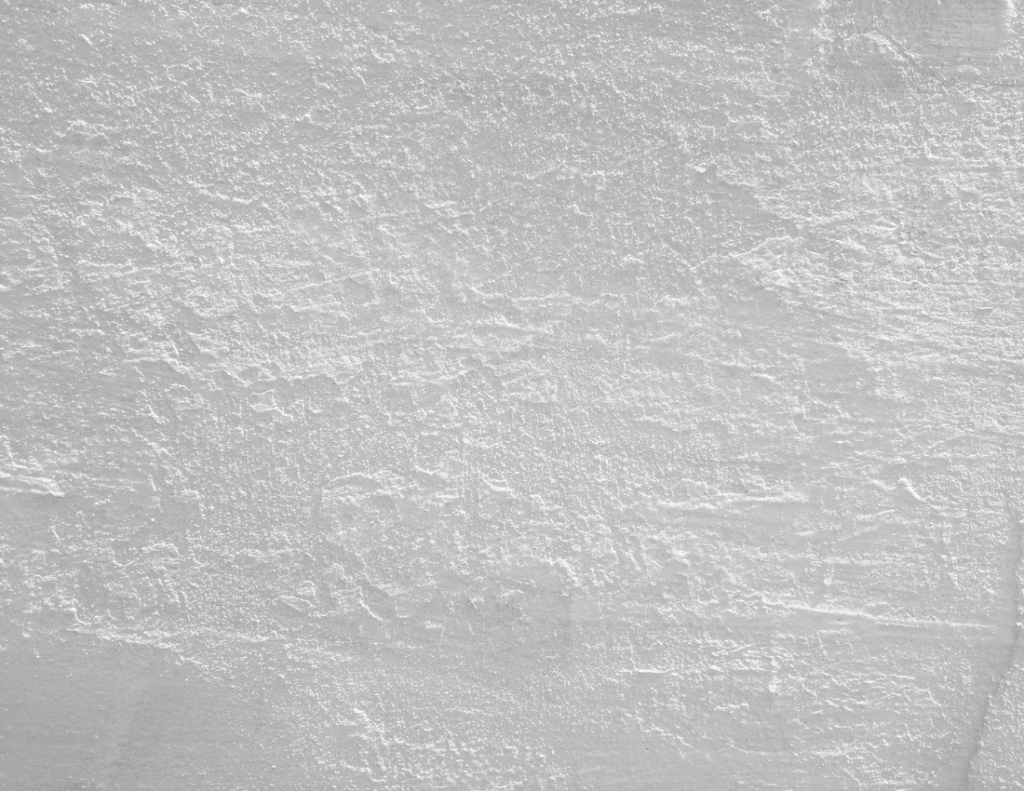
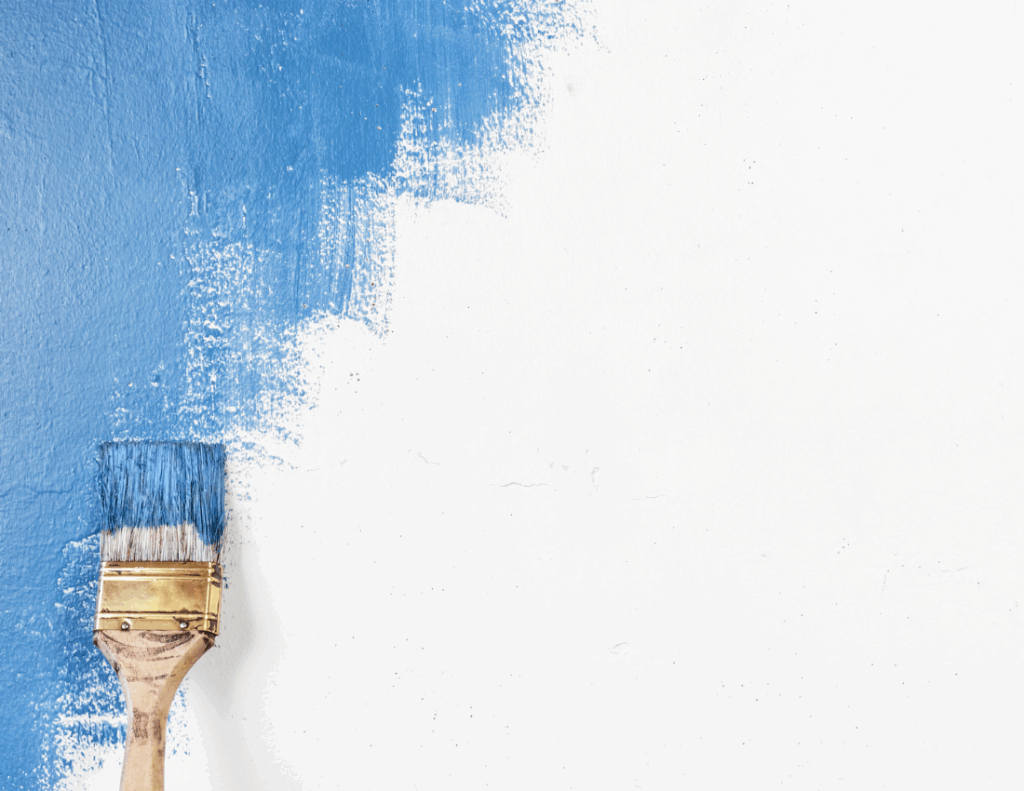
If you’ve been wondering how to paint textured walls in your New Canaan, CT home, you’re not the only one. These surfaces are great at hiding imperfections, but they can be a hassle when it’s time to repaint.
Whether you’re dealing with orange peel, knockdown, or heavier stucco textures, it’s not just about slapping on a coat of paint. The wrong tools, technique, or finish can leave you with streaks, drips, and uneven coverage. That’s why this guide walks you through the steps that professional painters follow for clean, durable results.
Let’s break it down.
Key Takeaways:
- Use a thick 1/2-inch or 3/4-inch nap roller to reach into wall texture and avoid streaks.
- Always clean the wall before painting to prevent dirt from ruining adhesion.
- Primer is a must—especially for uneven, porous surfaces like knockdown or orange peel.
- Choose eggshell or satin paint sheen for a balanced look that’s easier to clean.
- Tape and edge carefully to prevent paint bleed on textured walls and trim areas.

How to Paint Textured Walls
1. Start with a Clean Wall
Textured surfaces hold onto dust and grime, which can ruin adhesion. Before painting, grab a shop vacuum with a brush head and go over the entire wall. For greasy spots, like those near a kitchen stove, wipe down with warm water and a mild cleaner using a sponge.
Let the surface dry completely before moving to the next step.
2. Patch, Fill, and Prep
Even though texture helps hide flaws, small holes and dents should still be patched up. Use joint compound or putty on your fingertip to fill them in—don’t press too hard or you’ll flatten the surrounding texture.
Then, mask off nearby surfaces with painter’s tape. Press it down firmly along baseboards, window frames, and ceilings to avoid bleed-through.
For especially rough textures, sealing the tape edges with a tiny line of caulk helps keep lines clean.
3. Don’t Skip the Primer
Textured walls need a solid foundation. Even if you’re repainting, a fresh coat of primer helps the latex paint grip the surface and level out absorption.
Use a thick 1/2-inch or 3/4-inch nap roller to press into the texture. Roll in manageable 3-foot squares and keep a light hand to avoid heavy buildup. Switch to a paintbrush for corners and tricky edges.
If you’re covering a bold color or pa atchy wall, two coats of primer might be needed. That’s especially true if you’re trying to avoid common painting mistakes that cause uneven color later.
4. Choose the Right Paint Sheen and Tools
Textured walls reflect light differently. Go with a low-sheen finish like eggshell or satin. Anything glossier can make imperfections pop out, and flat finishes don’t clean up well.
Use a thick-nap paint roller to push paint into dips and valleys. If you’re unsure how much you need, our paint calculator can help prevent wasted gallons.
When painting near a popcorn ceiling, use a brush to cut in carefully, and don’t press into the texture too hard—it flakes easily.
5. Apply the Paint
Once priming is done and dry, switch to your finish paint. Work in small sections, overlap your strokes, and avoid going too fast. The goal is full coverage without streaks or drips.
Use a brush for corners and tight spaces. A little dabbing helps in deeper textures, but don’t overload it—too much paint leads to sagging.
Still seeing uneven areas? You might be running into common problems related to roller nap or technique. Using the wrong sheen can also make the texture look harsher, as we explain in our post on paint sheen.
Bonus Tips for a Smoother Finish
- Avoid using a foam roller—it won’t reach the texture
- Don’t sand textured walls; you’ll flatten the effect
- Dab paint gently into deeper indents rather than layering too much
- Stick to latex paint for easy cleanup and durability
- Choose neutral color tones to soften sharp textures
These small details often make the biggest difference. Experienced professional painters in New Canaan, CT use these exact techniques to create smooth-looking results on even the most textured walls.
Common Questions
How do you paint textured walls without missing spots?
Use a thick-nap roller and overlap your strokes. Double-check each section before moving on.
How do you cover textured walls if you want a flat surface?
That requires a full skim coat with plaster or mud, which is a separate job altogether.
How do you make textured paint?
That usually involves mixing sand or putty into standard paint, but it’s not the same as painting an already textured wall.
What’s the best paint roller for knockdown texture?
A 3/4-inch paint roller works well to fill in the dips without overloading.
Final Thoughts and How We Help
Learning how to paint textured walls takes patience and the right process. The surface might be forgiving when hiding cracks, but it can expose streaks or uneven coats just as easily. Proper prep, quality primer, and the correct tools go a long way.
For those who want the job done right the first time, hiring professional painters in New Canaan, CT can save you the frustration and the mess.
Here’s how [company] helps make the process smooth from start to finish:
- Full wall prep and vacuuming to remove dust, grime, and cobwebs
- Masking around trim, plastic edges, bathroom tile, and more
- Application of high-adhesion primer and the right paint for your texture
- Drip-free rolling using thick nap tools to cover evenly
- Clean, careful edge work and professional cleanup after the job
We serve homeowners in Weston, Westport, Wilton, CT, and the surrounding areas. Call us at 203-544-2744 for a FREE estimate today!


